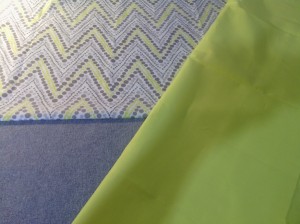
 A friend of mine messaged me with pictures of some cute fabric that she was just dying to make into a hobo style bag. She came over later that night and together we made it! 🙂
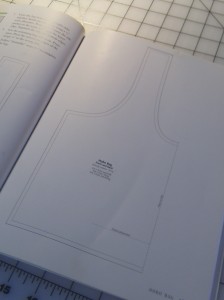
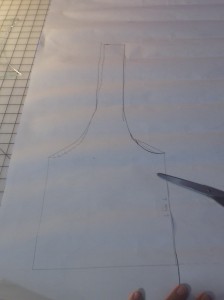
  We did find a pattern for a purse in one of my books here at the house, but unfortunately it had to be enlarged 167%. I tried to do this on my copy machine, but that didn’t really work out. So…Plan B! I drew one on the back of some large paper that I had and cut it out.
 We decided that the gray fabric would make a great bottom and that it might be easier to cut the pattern out if it were already attached to the focus fabric, so I went ahead and sewed those two pieces together. Then I laid the pattern on the fabric and positioned it along the fold like it showed in the book. After I pinned it in place I cut it out. I later realized that I had to do this twice for the front and back pieces.
 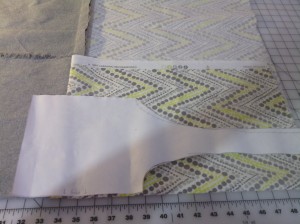 Next I had to cut out two pieces of the yellow for the lining of the purse.
 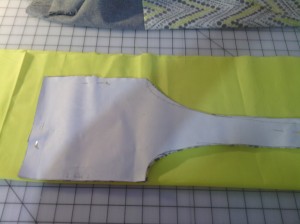 The directions in the book weren’t very clear about the next steps, so here’s where I kind of had to finesse it a bit and just go with my instinct.
  I put the lining and the outside of the purse together and kind of folded it in to get a picture in my head of what it was going to look like. I decided to sew the handles of the purse together and then with wrong sides together sew around the outside of the sides and handles.
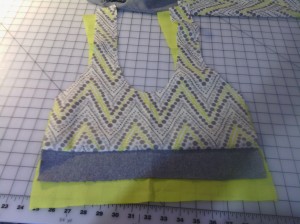
 I pressed it afterwards and then pressed a 1/4″ seam for the arm hole so that I could sew it down with a top stitch. Not super easy, but it got the job done. Just to give it a more finished look I top stitched around both sides of the handles. *The 2 halves of the purse are not connected yet.* I repeated the handle process for the other half of the purse. I joined the 2 halves together at the side seams being careful to match up the gray bottom.
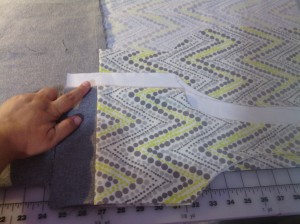 Next the pattern in the book said to make the bottom of the purse and then attach it. Again…not really clear directions, but after some consultation with my friend, we decided that if we cut some gray and coordinating fabric just a little smaller than the purse width and then about 5 1/2″ tall, that would be a good size. I just cut rectangles to start, but then eased the corners into an oval as much as I could. I later cut off the excess fabric and then zigzag stitched over the edges so that they would be finished like the rest of the bag.
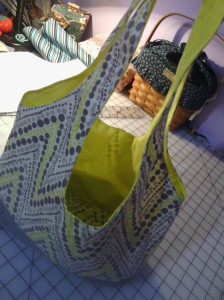 We were pretty pleased with it overall. 🙂
-
Subscribe
Subscribed
Already have a WordPress.com account? Log in now.