Archives

How to turn a fat 8 year old cat into a kitten over night

How to turn a fat 8 year old cat into a kitten over night

Since I’ve taken up knitting these past few days my dog Daisy has decided I’m boring and whines at me constantly. My cat, Annie, on the other hand thinks this is just marvelous! She loves to sit near me and bat at the knitting needles and yarn. I had to make her a little ball of yarn to play with so she’d leave me be. Daisy promptly stole it from her and shredded it.
So, last night I put my knitting aside on the table like I’ve been doing. (My pattern is on the computer, so I just keep them together.) And when I woke up, I was greeted with yarn in the living room, wrapped around the coffee table. I followed the yarn into the dining room.

IMG_20130723_064008

Wow! now that is an impressive display of kitty naughtiness right there. It’s hard to tell as this picture was taken on my phone, but the yarn has even gone over the rungs under one of the chairs.

IMG_20130723_064116

I thought at first that she had managed to unravel my knitting too, but I spotted the needle under the table.

IMG_20130723_064031

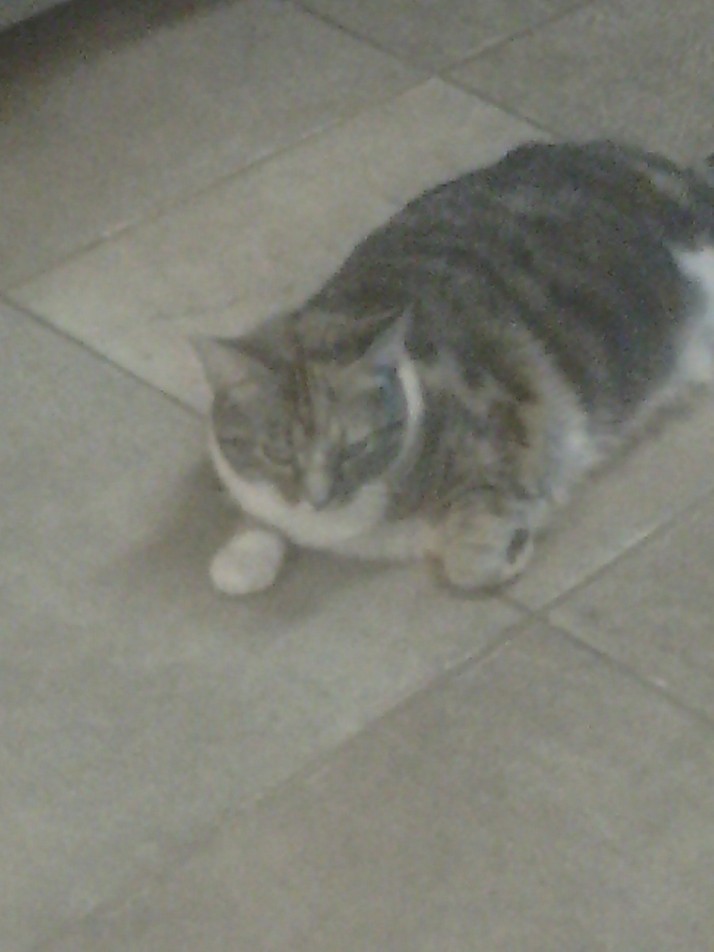
Annie, the guilty party. She looks possessed here. LOL

I’ve come up with a temporary solution to save my yarn from my cat…

IMG_20130723_115641

an overturned pie plate covers it up. Annie is looking on really irritated. Hey, she’s not even supposed to be on the table to start with! Get down!

How to make a crocheted dish cloth (not!)

How to make a crocheted dish cloth (not!)

I picked up a cute skein of cotton yarn yesterday at Goodwill for $.59. I figured this was plenty to make a couple of crocheted dish cloths. So, I googled “free crochet dish cloth patterns” and found a really cute nubby dish cloth. All it really required was some single crochet and treble crochet. Not a problem. I haven’t crocheted in awhile, but it’s just like riding a bike…you never really forget how.
Except…mine looks like a trapezoid. :/ I unraveled it and tried again…still a trapezoid.
So…on to Plan B. I googled “free beginner’s dishcloth pattern” and found one that it just single crochet. Surely I can’t mess that one up! Hopefully…

IMG_20130719_110957

Okay…after this dishcloth became trapezoidal in nature 1/2 way through, my sister suggested knitting one. So, I got out the knitting needles and pulled up a beginning pattern for that. It’s been oh…probably 23 or more years since I’ve knitted. (What?!)

After a very nice tutorial http://www.queenofdiy.com/stitchery/knitting-beginners-guide.html I felt that I could try again….and again…and one more time…ugh!!! Okay one more try…so far this one is going pretty darn good…please Lord don’t let me drop a stitch!

IMG_20130719_132545

Update on the “Day of the Dishcloth”. After several video tutorials on everything from adding yarn to yarn tension, and casting off…SUCCESS!!! 😀

IMG_20130719_215944

How to make cute, reusable money envelopes.

How to make cute, reusable money envelopes.

Last year when I was reading about Dave Ramsey’s budgeting envelopes I decided to make them out of cute fabrics that I had in my sewing room. They are much more durable and enjoyable for me to use. I did not use any pattern or anything, it just took an hour or two, and presto…money envelopes happened!

Now, I know that many people are put off by trying to sew anything without a pattern, but i’m telling you…just because it LOOKS hard, doesn’t make it hard. Here’s how I did it:

  1. Find some fabric. I happen to have a sewing room, so this step was super easy for me to pull from my stash. Most people don’t have a sewing room, but that doesn’t mean that you don’t have some usable fabric lying around. YOU DO! This is a great way to reuse fabric from clothes or linens that you might be thinking of discarding. It takes less that 1/4 yard (fat quarter) of fabric per envelope. If you’re really trying to be frugal with your resources, get creative. You probably really don’t need to buy a thing for this project. I would recommend using non-stretchy cotton fabrics, but you probably could use anything.
  2. Figure out the size of your envelope. Now this part puts people off because it involves measuring… possibly some kind of crazy hard math, and I just CAN’T…there are NUMBERS involved! *take a deep breath…you can do this, it’s painless…really* 😉 Get a dollar bill and lay it out on a piece of paper (if you want to make yourself a paper pattern) or your fabric. If you happen to have a measuring tape and you want to use it, do so now. It isn’t necessary though. I just laid out the bill and added about 1/2″ to 3/4″ on either side of the dollar about a finger width maybe, and then about the same to the top and bottom. Then, double that because you’re folding the fabric in half to make your envelope. If you want the inside of your envelopes lined, you can use an alternating fabric, or just use another identical piece from what you are using.
  3. Cut, sew, press. After you have decided on the size of your envelope, make a sample. I recommend doing this out of paper first to work out any kinks in your idea. Cut your paper the size you expect to need for your fabric, put a second piece just like that on top. Put the “right sides together”…remember you’re pretending this is your fabric now. Stitch about a 1/4”  around the perimeter leaving an opening at the bottom large enough to turn your fabric. In the case of the paper…probably you’ll have to leave the whole bottom open. Turn it inside out so that the “right sides” are visible and the seam is not. Press…here with paper, just finger press. Then fold in the unfinished edge and sew it down. Fold the whole thing in half now and sew the two sides together.
  4. Try out your envelope. After you have finished a sample envelope, put your money inside it to see how it fits. You may want to make a few adjustments. Mine were a little snug, so I added a smidgen more on all sides.  After you are satisfied with your measurements…get your little creative assembly line going. If you have little kids around you’ll probably find that they will be tickled to death to play with the paper versions of your envelopes when you’re done with them. 🙂100_1961
  5. Sew the real envelopes now. Same tactic…take two pieces of fabric with right sides together…sew around the outside edges leaving about a hand width space for turning. Turn them, press the unfinished edges inside and sew them shut. Fold the envelope up and sew the sides down. I recommend taking a stitch or two at the start and finish of the sides to make sure they don’t pull open with frequent use.
  6. Plan your wallet to store the envelopes. I used the same basic idea as for the envelopes and built on it. After I was done creating my envelopes, I stacked them all together and laid them out on a piece of fabric to gauge how much I might need. I added some extra fabric to fold over the top and close my envelope. Make sure you have extra on the top, bottom, and sides to completely hold all of the envelopes and have a little more space than you think you might need. It’s better to have a little too much than not enough here.
  7. Add closure. I used some Velcro that I had to make the closure and sewed a decorative button on the outside of the wallet.100_1959

100_1958